
Materials:
1) Hubcaps (make sure you have enough for your child's name)
2) Wooden letters
3) Paint and paint brushes
4) Glue gun
5) Hanging materials (this depends on what style of hubcap you use, we used two different hanging methods for this project)
Step 1: Clean the hubcaps
This is only necessary if you are using used hubcaps. Remember they were on cars for God knows how long and have been through numerous places, so make sure you scrub them GOOD with hot water and soap. Make sure all the grease, grit and grime are OFF. I washed until the water ran clear then let them air dry.


EEWWWW!
Step 2: Paint your letters
I did this while the hubcaps dried. Make sure to do two layers of paint so that the wood is completely covered. You also want to make sure you paint EVERY ANGLE of the letters. They will be up on display so you have to make sure that no matter how someone is looking at them, they will only see painted wood.


Make sure you cover every angle with the paint!!
Step 3: Glue on letters
Once your paint and hubcaps have dried you will then glue the letters onto the hubcaps. Before you do any gluing I suggest laying out the hubcaps on the floor in the order they are in, and then placing the letters on the hubcap where you are planning to glue it. This will allow you to 1: see if the order of you hubcaps looks good (this is especially important if you are using non-matching hubcaps) and 2: you can make sure that your letter placement looks nice. Once you are certain with your hubcap layout and letter placement you can go ahead and glue.


Step 4: Hang the hubcaps
Once the glue has dried you can begin hanging the hubcaps. What you use to hang them depends on how the back of the hubcaps looks. The majority of the hubcaps I used had a ridge on the end so I could just put a hook on the wall and hang them. However, I did have one that didn't have that ridge and only had screws on the back. What we did is my husband loosened the two of the screws that were across from each other and then wrapped the ends of a metal wire around each screw and tightened them. This basically gave us a place to hang the hubcap from (kind of like a picture). When it was time to hang up the sign I first found my center letter. My son's name has seven letters so I counted in thee letters on each side and that middle letter was the center of his name. I then measured the length of the wall and found the center of the wall. Once I did that, I hung the center letter at the center point of the wall. This allowed me to ensure that the sign would be centered. I then worked my way outward on the sign (moved from the center letter to the next letter to it's left and so on) until I reached the first letter of the sign and then did the same for the end half of the sign. This ensured that all the letters were even and the sign was level. When I hung the hubcaps I leveled them based on the height of the hubcap. This was easier than using the letters as a guide for me, but you can do whatever is easiest for you.
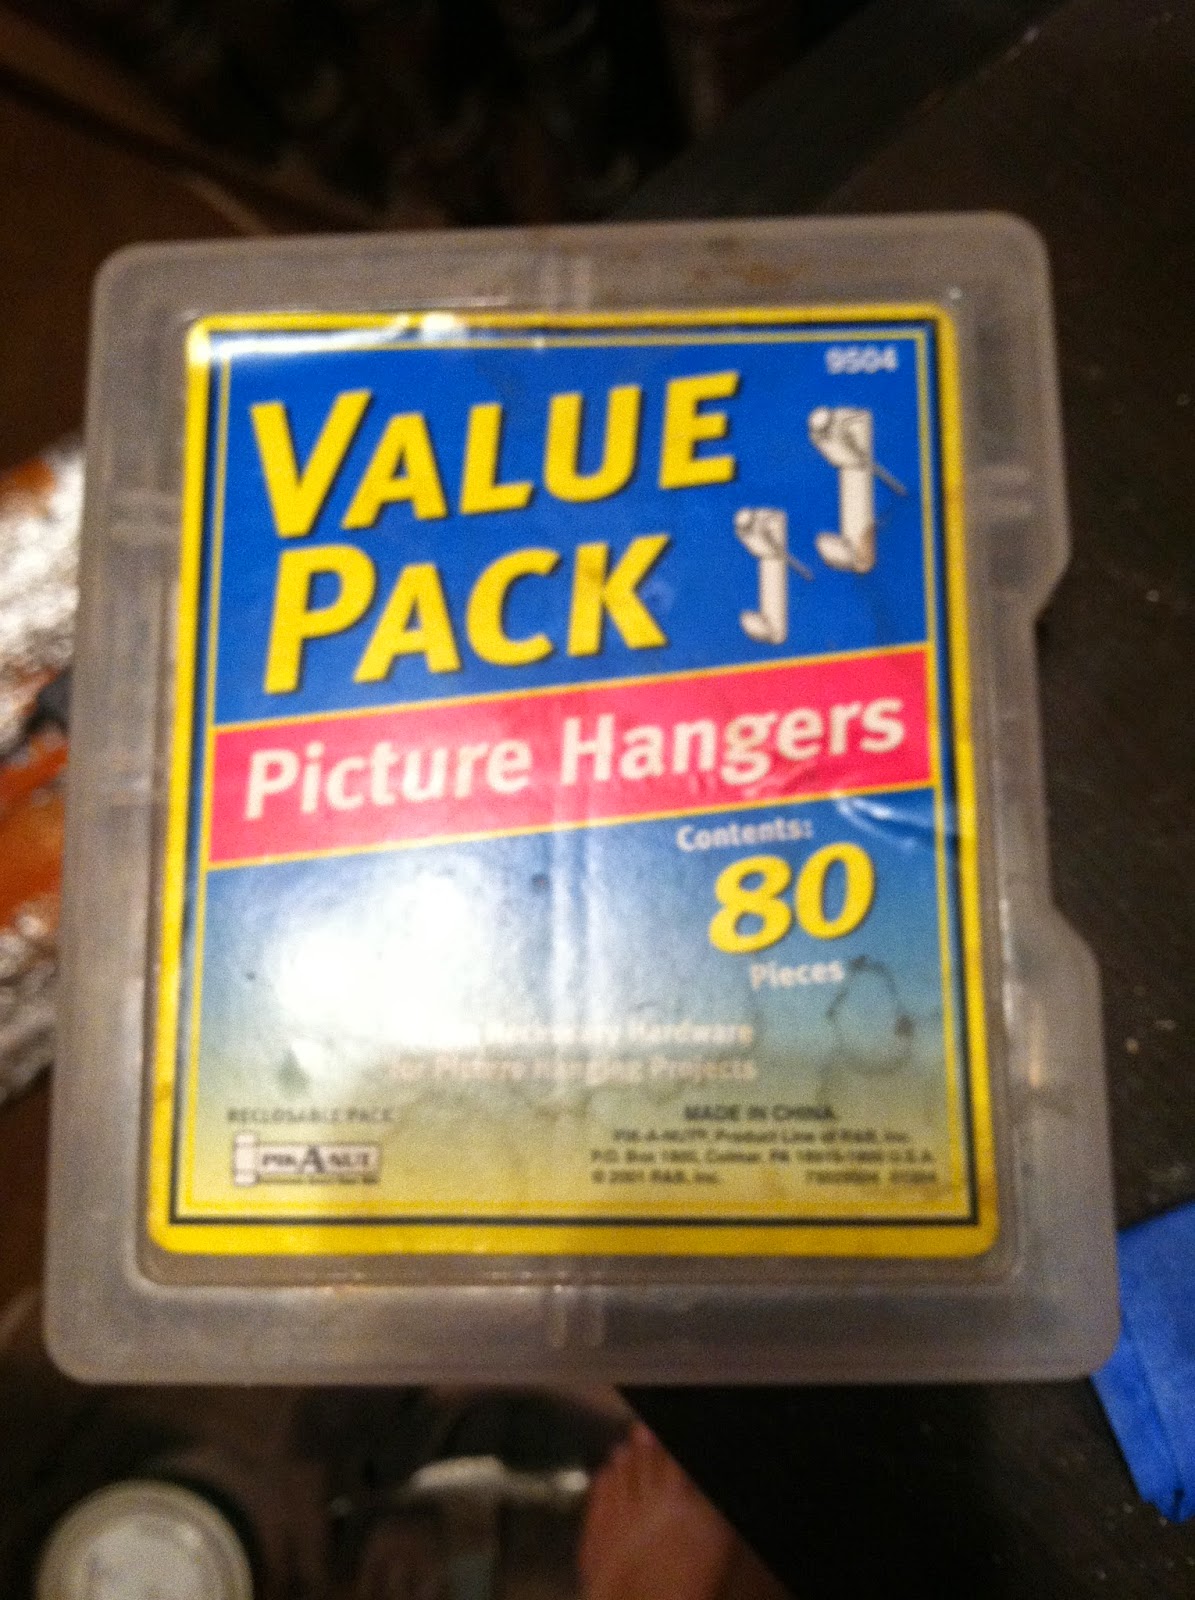
I used picture hangers to hang the majority of the hubcaps.


These are the hooks I used. There was a hole for a nail to secure the hook to the wall, and then the hubcaps are attached by the bottom hook.
Finished Product:

This was a super easy project, however it was very time consuming in that it required a lot of planning out an precision in hanging, but I think it was worth it and the outcome is really cute! To see the other projects I've done for his nursery see the links below.
ALSO, don't forget to SUBSCRIBE to my YouTube Channel, for room tours, update, and other fun stuff!
No comments:
Post a Comment