Sunday, March 13, 2016

Craft Storage

In case you all haven't figured it out yet, I am a craft addict! I love doing all kinds of different crafts from crafts with my kids, to bow making, jewelry making, bible and art journaling, home decor, DIY birthday parties, etc, so of course I have accumulated an extensive amount of craft supplies. With all of these supplies has also come the need for organization (my second obsession). My craft space has evolved over the years from a literal craft closet (seriously, my husband put a built in table in an old guest closet we weren't using) to the full loft space in our new house, so I've utilized several different methods to organize all my crafty madness. Since I've been showing you all some craft ideas I figured I'd show you how I organize my craft area to hopefully give you some ideas.

Now, I know everyone's situation is different and the space you can allocate to your craft stuff is going to be different than mine most likely. But I hope you can take some of my storage solutions to help with your needs. For those of you with minimal craft space I suggest using bookshelves and plastic bins to store your supplies. When i had my stuff in a "craft closet" my husband used a piece of plywood and some 4X7s to build a table right into the closet. I then used old shelves to hold my paints, glitters, etc. I will also link any tutorials I have for some of my DIY storage solutions, as well as links to sites where you can purchase some of the other items.

So here is what my craft space looks like now. Our loft came with a built in table and shelves so I use those for my storage.


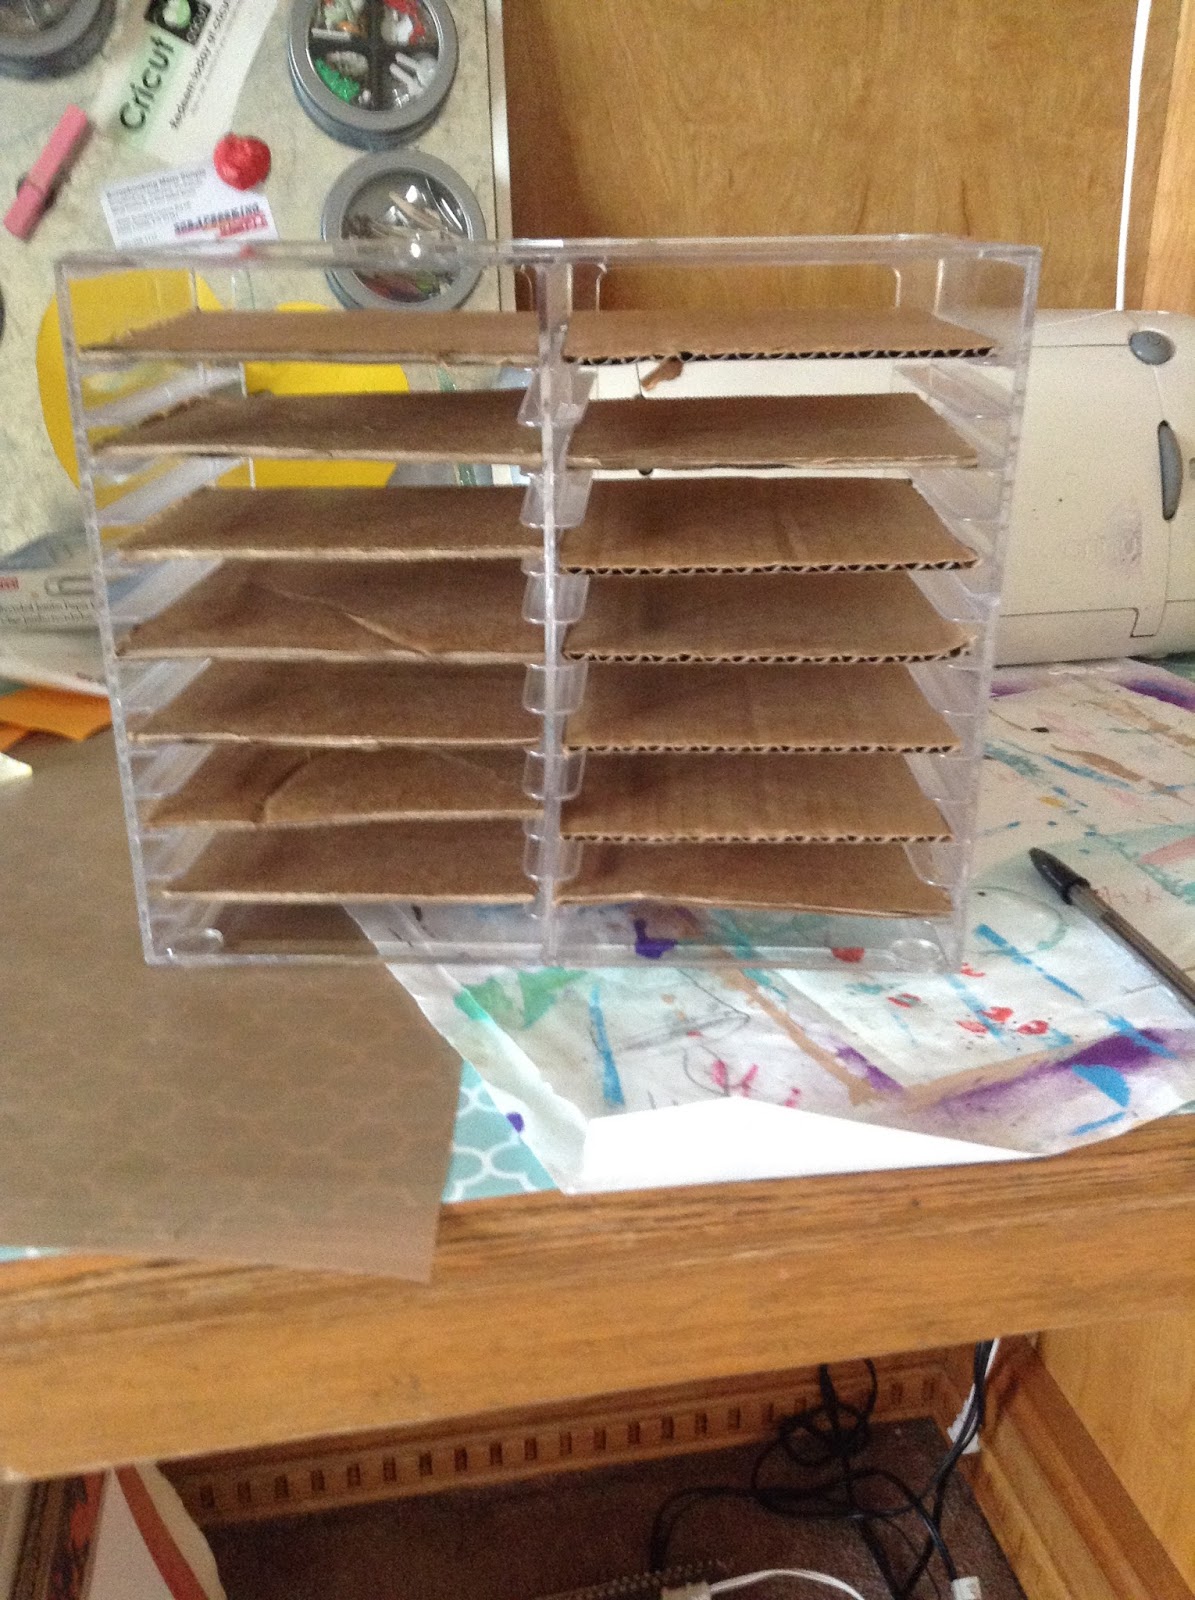
I have found it's easiest for me to organize my supplies by type. I find that organizing things that way helps me keep my "flow" when I'm working on something. For instance when I'm art journaling and I'm working on a page background I know that most of the stuff I need is going to be on my "page prep & texture" shelf. I also find that the more organized I am, the more organized I stay. If I know everything has a specific place, I'm more inclined to put them back after I've had all my crafting fun. I didn't get a picture of it but the drawer for my embellishments I have organized using plastic drawer organizers from bed bath and beyond. I organize them based on type (stickers, rub ons, metal embellishments, etc). By having them in their own separate plastic squares I can just pick up the entire thing and take it to my work area. So that way if I know I want to use a sticker on a page, but I'm not sure which one I can just take the sticker tub out and then go through it and put each sticker on the layout and see how it looks and then put it back in the tub if I don't chose it. That also helps me keep everything organized while I go crazy! 


I organize my distress ink pads with using an up-cycled CD case holder. Since I use my distress products the most I have them all on a single shelf right above my work area for easy access. For my distress markers I use to just keep them all together using a spare hair tie. However, I recently purchase the Tim Holtz Distress Marker Tin and it's AMAZING! Its great for taking them to friends houses, it's easy to open, and the window at the top makes it easy for me to see what markers I have to plan my color scheme. I also organize my my stencils and my bible journal rub-ons/stickers using metals rings.  I just slide the stencils on to the metal rings and then hang them from a small command strip hook.  I keep my stencils in their original plastic packaging so I just string them onto the ring using the hanging hole that's in the packaging. I do the same thing for my bible journaling stickers. The only stencils I do somewhat differently are my Tim Holtz stencils. They are made with small holes at the top so I just put them on their own metal ring through the holes they are made with. Storing them this way makes them really easy to flip through and having them right on the wall make it very easy to grab them.

I store all my cling mounted stamps in a stamp binder. and I keep my stamp pads and acrylic blocks right next to it so everything is very easy to see and grab. It also helps prevent me from losing the cling stamps. I use to have them in plastic drawer organizers, but I wasted so much time sifting through everything and I lost some smaller stamps, I decided to go the binder route and it worked perfectly!   My paintbrushes, pens, pencils, regular markers, journaling pens, scissors, glue gun, etc are stored in a recollections storage carousel. I purchased this when I was in my craft closet. It was, and still is, so helpful to have my most often used items right there at the tip of my fingers.  I also love that I can spin it around to find the exact item I need.   For all my craft paper I use a recollections storage cube with dividers to organize my plain paper, pattern paper, and scraps. I couldn't find a link to this but I originally purchased it from Michael's.  For my craft ribbons I use another recollections brand item. Its a shelf system that also has two rows of dowels for ribbon storage. Again, I couldn't find a link to this but I purchased it at Michael's as well. Also, as a side note, since I am doing all my crafts on the built in I'm very careful to protect the wood so that if we ever move I won't be trying to figure out how to get off all the paint, ink, and glue while not destroying the wood. I ended up using the leftover patterned paper from my DIY Kitchen cork board, the paper is really cute and just makes the space look even craftier, but I can also remove it very easily (I taped it down with washi tape). It's thick enough that the inks and paints don't run through it so it's perfect.  However, I do use an old paper shopping bag directly under my craft just as another barrier between the wood to be safe.  


The last storage item I have is this three drawer storage cart. I comes with wheels but I chose not to put them on so it could fit under my table in my old craft closet. I have one drawer for all my cricut items, however I also want to get a cricut cartridge holder as well. The second drawer I use for my wood mounted stamps, and the bottom drawer is for my craft scissors that have decorative edges. These drawers aren't super organized in themselves, but its a great way for me to keep my larger items that take up a lot of space. Plus, I can use the top of the cart as another shelf for more storage!

Well, I hope this gave you some ideas on how to organize your craft supply madness! I would love to hear from you guys how you organize your supplies and any product you think I might find useful!

Sunday, March 6, 2016

DIY Birdcage Table Centerpieces


As part of the house craft frenzy I've been on lately (see: fabric cross, height chart, rustic chic twig art, cork board) I fell in LOVE with birdcage decorations. I knew I wanted to use them in my decor somehow but I wasn't sure exactly how (I mean, there are so many possibilities). But I eventually decided on making a beautiful centerpiece for our dinning room table. Our table is pretty long (over 6 feet) and is the first thing people see when they enter the house so I wanted something eye catching to draw everyones attention.  I decided on using three separate birdcages and putting them together to make one large centerpiece. Now, I completely forgot to take pictures of each step since my daughter was helping me make these and I needed to watch her instead but I did take a lot of after pictures!

Supplies:

  • Three (3) wire birdcages any color. I got these from Michael's.  They should be three different sizes, or at least on small one.
  • One small flat candle stand (this is to raise one of your cages to make it bigger).
  • Hot glue
  • Three blocks of moss covered foam-cut to fit the base of the cages
  • Fake moss
  • Fake flowers and vines
  • Fake succulents
  • Small garden decorations (birds, butterflies, etc)
So the steps themselves are very simple. First you need to cut the foam to fit the bottom of the cage.  Use the fake moss to cover any exposed foam. Once your foam is cut hot glue it onto the bottom of the cage. Once all of the glue is dry you can start putting in your fake flowers.  Your stems are going to be too long to fit into the cages when closed so you will need to cut them down.  I just measured the inside of the cage from the foam and then cut the stems to that size.  

I didn't worry about glueing the stems down I just pushed the bottoms into the foam and they stayed in place nicely.  Make sure you start putting flowers in the back of the cage first and then move forward with the shorter stems so you can see everything.  Once you've placed all your flowers and vines you can go in with your succulents. I just hot glued them down around the flower stems to add some more dimension. I then glued the small garden decorations onto the foam block and the succulents. 

When I was decorating the cages I made sure to use the same color flowers and have succulents in each cage for consistency so they would all look like one centerpiece, but I also put more decorations in the larger cages than the smaller ones. Additionally, I placed the vines low to the ground on the sides and front of the cages so they would cascade out of the cage and wrap around each other. 

Finally, I had to make one of the large cages higher than the others because I wanted a small, medium, and large cascade for my centerpiece. The easiest way to do this was I purchased a small candle holder for a large round candle; 3 inches in diameter and 3 inches high.  I spray painted it white and then hot glued it onto the bottom of one of the cages to make it higher than the others.

So that's it! Sorry again for not having pictures of each step, but I do have a bunch of pictures of the completed product down below. I hope you enjoy. Happy crafting! 


Thursday, March 3, 2016

DIY Distress Ink Organization


It's time to get crafty everyone!!! Lol, okay now that I got all that excitement out I am truly loving and so excited about this new project I have. So, I'm not sure about all of you, but I am completely addicted to craft supplies.  Seriously, if there was a crafters anonymous I would be the president of it! Because of this I am constantly organizing, and re-organizing my craft supplies.  Recently I have gotten very into art journaling, and now bible journaling.  With this new obsession has come a love affair with Tim Holtz products, specifically his distress inks.  As I have been collecting all of these wonderful inks, I have quickly come to realize I need a better way to organize them. Right now I'm just stacking them on top of each other, which makes it difficult when I want a color at the bottom of the pile.

Now, if you aren't crafty or a fan of this tutorial you can get ink storage online. I considered buy this, however it was a little out of my budget and wouldn't fit where I want my ink, so I decided to make my own and then go from there as my collection grows.

Supplies:

Step 1:

First you need to measure the area of the holder that you will be putting the ink in. The case I measured (and it should be the same for all holders) was 4 2/3 X 5. Next measure out that square on your card board and cut them out. I used the flaps from an old box so I was able to recycle a little with this one (and save money). I ended up cutting out 16 squares for this sized organizer (it was a 30 case holder). You will have to skip one slot with each ink so they will fit.

Make sure you leave extra space for the inks.


Step 2:

Now that all of your cardboard is cut you can decorate your holder! If you want to decorate the dividers you can, but I didn't worry about it.  I used the Tim Holtz fabric I had in my stash to cover the CD holder.  I covered both sides and the top, you don't have to worry about the back since that will be covered by the ink and slats.  I cute the 12 X 12 fabric into two large rectangles, for the sides and part of the top, and two smaller rectangles to fill some small spaces at the top.  Once your fabric is cut just hot glue them to the top and sides. 


Make sure you work quickly with the hot glue, it dries very quickly on the plastic. I glued a piece at a time and then went over the edges again to secure it.  I first glued the small rectangles in the center to make sure the holes would be covered then I glued the top of the long squares onto the top edges of the holder and then glued the sides down.


Ta-Da! So this is what it looks like when its all done. Obviously I need to get another CD holder for the rest!

So that's the end of this super quick and super easy tutorial! However, I wanted to show you guys some other tricks I've developed to help with my distress ink organization. I will also be doing an organization series for my craft room soon.

First I have come up with an easy trick for keeping up with my blending tool sponges. After a while I got tired of washing the sponge after each use, and I would always forget which sponge went with which ink so I decided that an easy way to fix all that was with Velcro! It was so easy I couldn't believe I didn't do it earlier!  I just took the rough side of the Velcro square and cut it in half (to make them last longer) and stuck it to the underside of the ink pad and put the sponge on it! 


So simple! I put the Velcro on the top of the ink pad so I could have some extra room if/when I get the round blending sponges  so I can keep them all together.

Now, the last thing I just started doing (which you may have noticed from the organizer) is the color "labels" of the I put on each ink pad so I could quickly see the color. I always had to rummage through the pads so I could see the top of them to find the right color. But with the labels I don't need to do that anymore! It, again, was so simple. I just inked up a small section of the sponge and then colored a small piece of plain white paper.  I then cut out the section and trimmed it to the size of the ink pad. I took a small piece of tape and taped the paper to the side of the ink pad. Again, so easy!!


They're so easy to see now! I'm so excited at how pretty they look!!!