

It's time to get crafty everyone!!! Lol, okay now that I got all that excitement out I am truly loving and so excited about this new project I have. So, I'm not sure about all of you, but I am completely addicted to craft supplies. Seriously, if there was a crafters anonymous I would be the president of it! Because of this I am constantly organizing, and re-organizing my craft supplies. Recently I have gotten very into art journaling, and now bible journaling. With this new obsession has come a love affair with Tim Holtz products, specifically his distress inks. As I have been collecting all of these wonderful inks, I have quickly come to realize I need a better way to organize them. Right now I'm just stacking them on top of each other, which makes it difficult when I want a color at the bottom of the pile.
Now, if you aren't crafty or a fan of this tutorial you can get ink storage online. I considered buy this, however it was a little out of my budget and wouldn't fit where I want my ink, so I decided to make my own and then go from there as my collection grows.
Supplies:
- A plastic CD organizer
- Card board (I used the flaps of an old box)
- Hot glue
- craft paper/Tim Holtz fabric
- Scissors
Step 1:
First you need to measure the area of the holder that you will be putting the ink in. The case I measured (and it should be the same for all holders) was 4 2/3 X 5. Next measure out that square on your card board and cut them out. I used the flaps from an old box so I was able to recycle a little with this one (and save money). I ended up cutting out 16 squares for this sized organizer (it was a 30 case holder). You will have to skip one slot with each ink so they will fit.
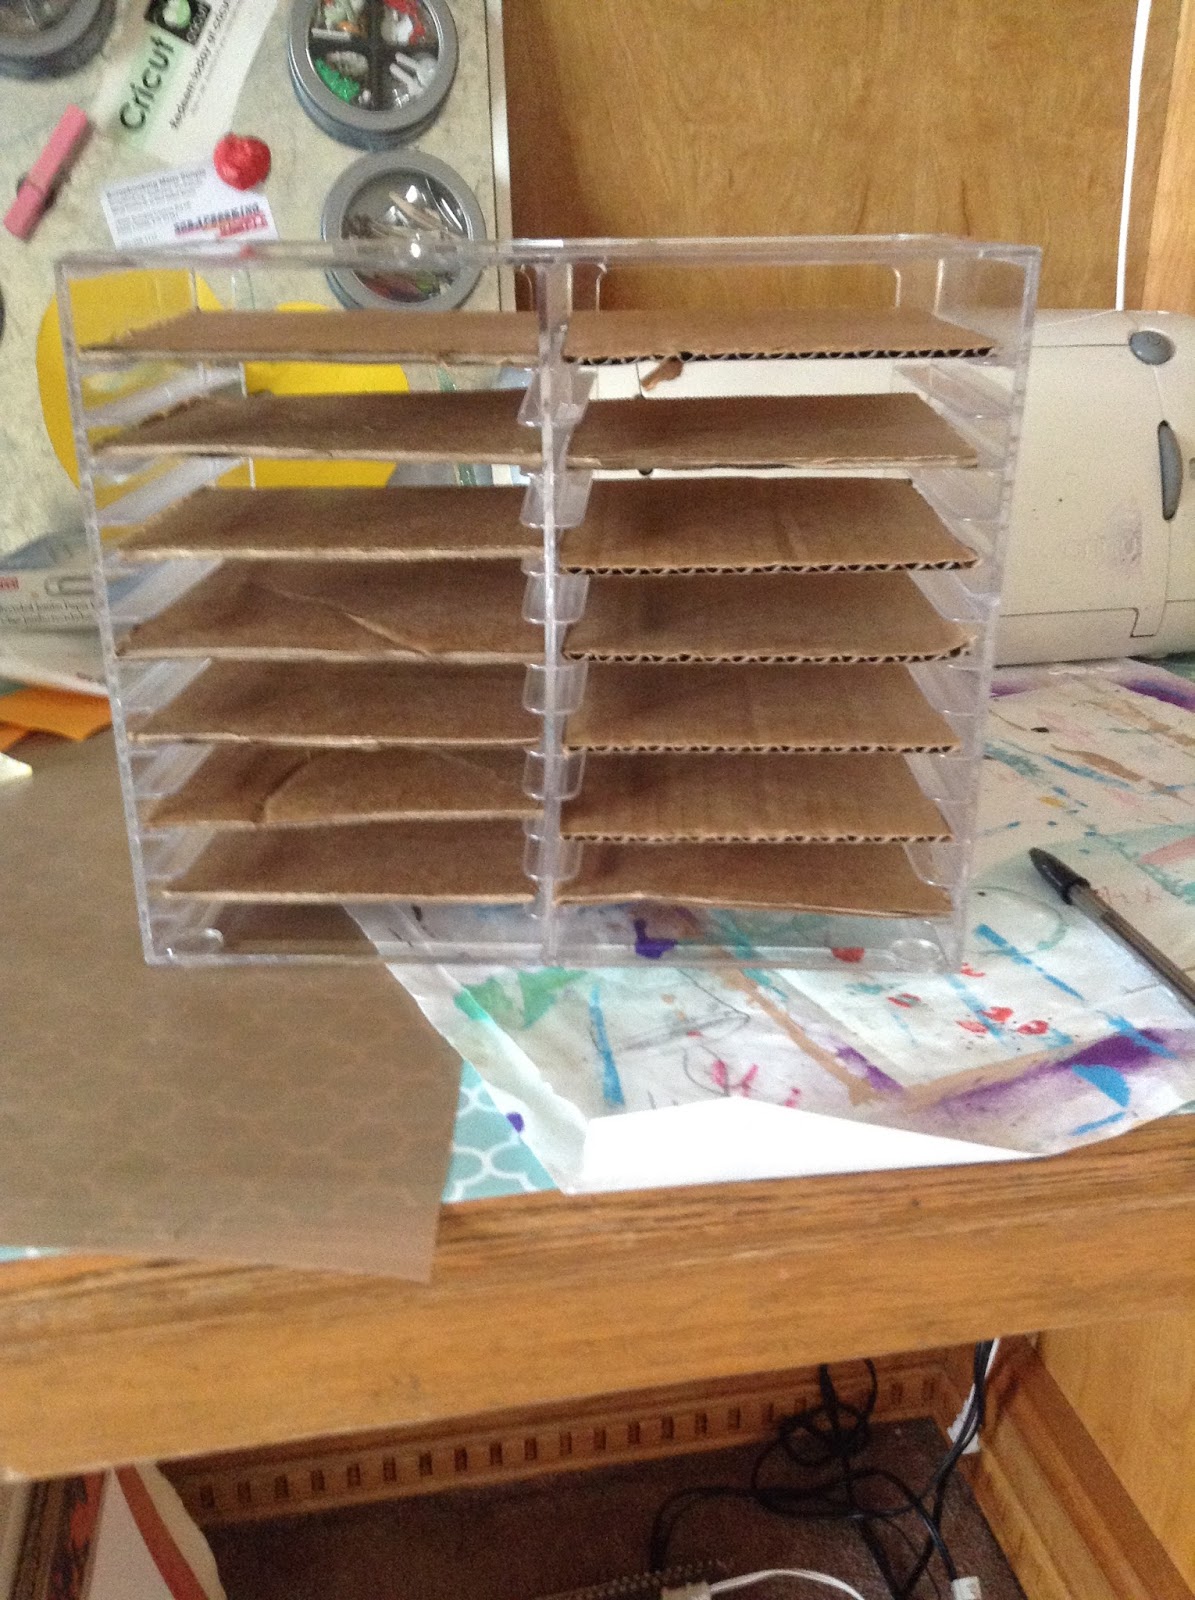 |
| Make sure you leave extra space for the inks. |
Step 2:
Now that all of your cardboard is cut you can decorate your holder! If you want to decorate the dividers you can, but I didn't worry about it. I used the Tim Holtz fabric I had in my stash to cover the CD holder. I covered both sides and the top, you don't have to worry about the back since that will be covered by the ink and slats. I cute the 12 X 12 fabric into two large rectangles, for the sides and part of the top, and two smaller rectangles to fill some small spaces at the top. Once your fabric is cut just hot glue them to the top and sides.

Make sure you work quickly with the hot glue, it dries very quickly on the plastic. I glued a piece at a time and then went over the edges again to secure it. I first glued the small rectangles in the center to make sure the holes would be covered then I glued the top of the long squares onto the top edges of the holder and then glued the sides down.
 |
| Ta-Da! So this is what it looks like when its all done. Obviously I need to get another CD holder for the rest! |
So that's the end of this super quick and super easy tutorial! However, I wanted to show you guys some other tricks I've developed to help with my distress ink organization. I will also be doing an organization series for my craft room soon.
First I have come up with an easy trick for keeping up with my blending tool sponges. After a while I got tired of washing the sponge after each use, and I would always forget which sponge went with which ink so I decided that an easy way to fix all that was with Velcro! It was so easy I couldn't believe I didn't do it earlier! I just took the rough side of the Velcro square and cut it in half (to make them last longer) and stuck it to the underside of the ink pad and put the sponge on it!


So simple! I put the Velcro on the top of the ink pad so I could have some extra room if/when I get the round blending sponges so I can keep them all together.
Now, the last thing I just started doing (which you may have noticed from the organizer) is the color "labels" of the I put on each ink pad so I could quickly see the color. I always had to rummage through the pads so I could see the top of them to find the right color. But with the labels I don't need to do that anymore! It, again, was so simple. I just inked up a small section of the sponge and then colored a small piece of plain white paper. I then cut out the section and trimmed it to the size of the ink pad. I took a small piece of tape and taped the paper to the side of the ink pad. Again, so easy!!


They're so easy to see now! I'm so excited at how pretty they look!!!
No comments:
Post a Comment