
Supplies

1) A large picture frame. I used a 17in X 23in magnet and chalkboard from Make it Love it that I got at Joann's. Here is a similar one. It doesn't matter what type of board/frame you get, it just needs to be large enough (no small than this) and have a solid back and a frame.
2) Metallic gold paint
3) Adhesive of your choice
4) Twine
5) Small clothes pins
6) Three tan or off white 8 X 10 card stock pages
7) Two red sparkle 8 X 10 card stock pages
8) One metallic gold card stock page
9) Twine
10) Green ribbon
*Not mandatory, but I also suggest using a cricut machine as well.
Step 1:
First you need to paint the background of your frame/board. If you are using a frame you can also get rid of the glass, you won't be needing it.
I used the Inka-Gold metallic rub from Joanns. This was my first time using it and it was very nice to work with once I got the hang of it. It's not a regular paint but a paint rub which makes it a little different to work with at first.

First take a clean paint spatula and scoop a small amount of rub out of the container. Then place the rub directly onto a clean soft cloth. I used eye glass cleaner cloth and that worked wonderfully. The rub also washed out of it completely, just make sure you wash it as soon as your finished.


Once the rub is on your cloth GENTLY rub the metallic paint onto your board. Being gentle is key here, because if you are too rough you will rub off paint that you've already put down. You will need a few layers of rub, allowing each layer to dry completely in between each application. It dries fairly quickly 15-30 minutes.

This was the board after the first coat.You can see the areas where I rubbed too hard and took off some of the paint. I also recommend rubbing in a singular motion i.e. left to right or up/down. That way it will help prevent streaking.

 |
| With the second layer |
 |
| With the additional layer on needed areas |
Step 2:
Now it's time to work on the squares where the activities will be on. This is where the Cricut machine will come in handy. If you don't have a Cricut then you will need to hand cut the squares. I first cut the tan papers where I will write each activity. I first cut the three 8 X 10 card stock papers into halves so they will fit in my Cricut.


I used the George and Basic shapes cartridge for this project. I used the square shape with rounded edges and cut them at 2 inches. I also cut out a total of 30 squares just in case I decided to change activities later or made a mistake on writing some of them out.
 |
| Here are all my pretty squares! |
After I cut out all of my activity squares I moved onto the decorative squares that will hold the activity squares. I used the red glitter card stock for these. I began by cutting the 8 X 10 papers in half like I did for the other card stock so they would fit in my machine. I cute these at 2 1/2 inches so they would be larger than the activity squares leaving a little room for the clothespins. Also, when I was cutting the glitter card stock I had to put the pressure up to 4 (max) so it could cut through the thicker glitter card stock.
 |
| The larger decorative squares |
 |
| The difference between the activity and decorative squares. |
Step 3
Next it's time to cut out the numbers for your advent calendar. You will use half of the metallic gold card stock paper to cut out your numbers. Note, you will need to put the pressure of your cricut back to mid level for this paper. Once all of your numbers are cut out I suggest piling them in numerical order. This way you will be able to quickly grab the number you need and it will help you make sure you have all the numbers you need. When I made my piles I realized I forgot one eight...oops.

Step 4:
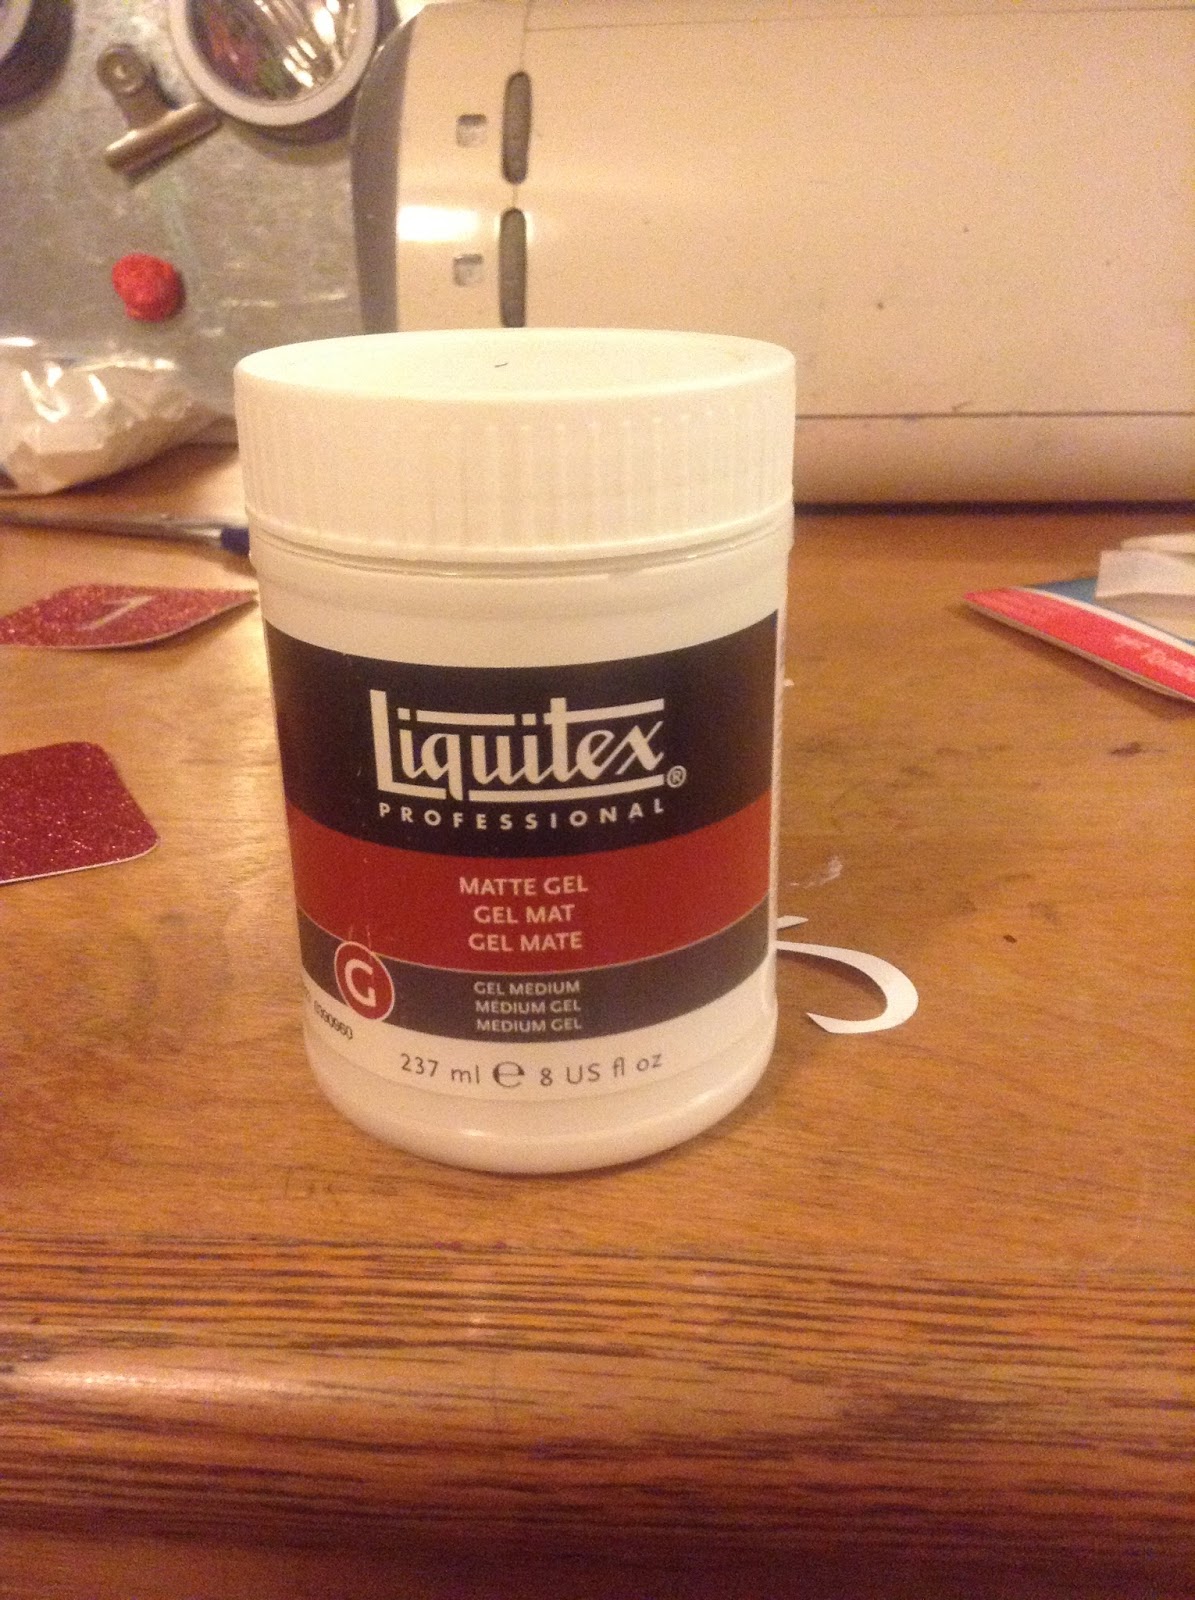
Now the fund stuff! Once all of your numbers are cut and stacked you can start to attach them to your red glitter squares. I experimented with several different adhesives and found that matte medium worked the best. It dried quickly and clear and it was not sticky when it dried like mod podge. Using a small paintbrush I applied the matte medium to the back of the numbers and then placed them on the glitter square. Once they were on the square I also put matte medium all over the top of the number to adhere it to the square. Make sure to have a light hand when doing this so you don't move the numbers around.

Step 5:
Once all of your numbers are attached you can put them aside to dry and go back to your board. Now you need to attach the twine to it. This is where your activities will hang. For this size board I cut three lengths of twine going from one side to the other, attached at the frame. You can use whatever type of glue you'd like however, I chose hot glue because it dries quickly. No matter what adhesive you choose make sure the first end you glue is completely dried before you glue the other end to make sure nothing slips out of place.
 |
| Once again, don't worry about how neat the frame looks because its going to be covered. |
Step 6
Next you will cover the frame with the ribbon you selected. Measure the ribbon on one side of the frame and cut the ends of the ribbon at an angle to go with the angle of the frame. Do this for all four sides and glue the ribbon down with the glue. This will cover any paint that has gotten on the frame and the attachments for the twine.
 |
| Note the angle of the ends of the ribbon. Your angles should line up and meet. |
 |
| This is what your board will look like with the twin and all the ribbon glued on |
Step 7:
By now the matte medium on the numbers is dry so you can go and write and attach your activity squares. At the end of the tutorial I will list all of the activities I have for you to reference. When you're attaching your activity squares I suggest using a reusable adhesive such as Velcro or foam scrapbooking dots. This way if you want to change the date of an activity or change one completely you can easily move the activity square out without having to make a completely new set.
 |
| These are what I used to attach the activity squares to the decorative squares |
Step 8
Once all of your squares are attached all you have to do is fasten the squares to the twine. I used these mini red clothespins from Make it love it. I got them at Joann's for about $2. I just clipped them on the top of the red decorative square and onto the the twine.

And here is the finished product!

I think it came out really nice, and should hold up for a really long time! Isabella was very excited when she saw it. I have listed the activities we are going to do for our advent calendar in no particular order. I will link them to the tutorial/event as we do them this year so you can reference back to them if you want ideas for your own calendar. I hope you all enjoyed this tutorial, and I would LOVE to hear any of the traditions and activities you and your family do for the holiday season. Merry Christmas!!
Advent Activities
1) Make Christmas cookies
2) Take cookies to fire and police stations
4) Make a gingerbread house
5) Buy Starbucks for a stranger
6) Visit Santa
7) Get our Christmas tree
8) Buy a present for mommy
9) Buy a present for daddy
10) Buy a present for your sibling
11) Wrap presents
12) Make an ornament
14) Give the Christmas craft to someone special
15) "sock" a special person/family
16) Donate food to the food pantry
17) Donate toys to toys for tots
18) Read the Christmas story
19) Watch a Christmas movie
20) Send a Christmas card to a soldier
21) Make Christmas popcorn
22) Give Christmas popcorn to neighbors
23) Look at Christmas lights
24) Family visits and opens presents
No comments:
Post a Comment